Photography is all about seeing light — effectively using the subtle combination of color and shadow to bring out personality and evoking emotion. While most lighting technique is obvious once you think about it, there is another side to light that is both beautiful and non-intuitive.
When white light from the sun or strobe strikes a subject, the light is either absorbed or reflected. If most of the light is reflected the object appears white, if most is absorbed, the object is black. If the object preferentially absorbs red and green light, it appears blue; if green light is absorbed the object will appear magenta, etc. You get the idea.
Normally, absorbed light warms the object, but occasionally the absorbed light is stored and re-emitted some time later. If the light is emitted almost immediately the process is called fluorescence, if light is emitted much later the process is called phosphorescence. Posters popular in the 1960s fluoresce brightly under ultraviolet (black) light — turn the light off and the colors immediately fade. On the other hand, when you shine a bright light on your analog watch or depth gauge, it will phosphoresce for many hours. Bioluminescence is a completely different process; stored biochemical energy in bacteria, fireflies, and planktonic critters is used to directly produce light.
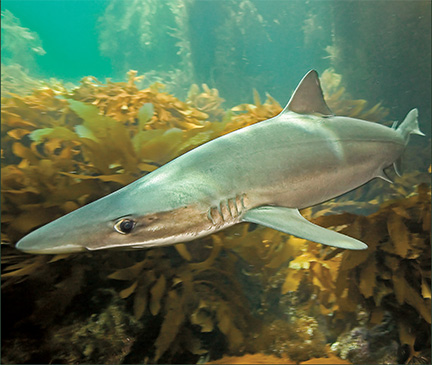
As it turns out many underwater animals fluoresce brightly when exposed to the right kind of light. Before your next dive note the red color of a piece of your equipment. At 60 feet or so hold this gear near patch of strawberry anemones and again note the color. The red gear will look black or nearly black, while the anemones will appear red. That is because water filters out most of the red, orange, green and yellow leaving mostly blue light at 60 feet–so your gear appears black due to the lack of red ambient light, while the anemones create their own red color by fluorescing.
It is straightforward to capture underwater images of fluorescent subjects. Ideally, we would like to bring a strong ultraviolet strobe underwater, but most strobes produce very little ultraviolet light. The next best thing is to expose your subject to deep blue light. There are commercial companies that supply filter kits for this purpose, but a more economical route is to go to a commercial plastic company (like Tap Plastics) and purchase a piece of deep blue Plexiglas large enough to cover the business end of your strobe. Construction of an effective filter is easy. Find a plastic container from your kitchen, cut off the bottom quarter and cut out bottom, and silicon cement the blue filter to the bottom. If your container is sized appropriately, it will snap onto your strobe, but drilling a hole in your contraption so you can attach it with a rubber band is helpful.
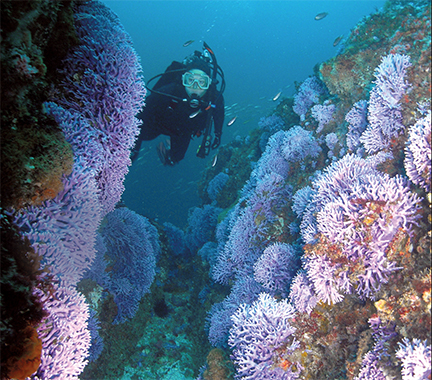
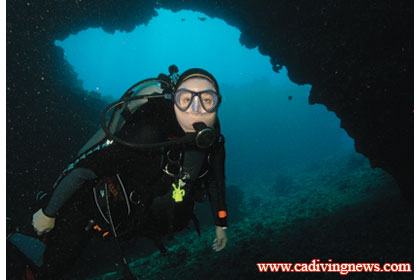
Once you have your filter, it is easy to find and photograph fluorescent subjects. In California waters there are numerous subjects to choose from. Strawberry anemones are particularly florescent, as are orange and brown cup corals. You will be surprised how many invertebrates fluoresce and how beautiful the distribution fluorescent pigments are. Many, but not all of the tube anemones you see fluoresce red or orange. If you are below about 60 feet, everything you see that is red, orange or yellow is probably fluorescent. On night dives, simply make a blue filter for your dive light to find fluorescent subjects.
Once you have your image, post processing is straightforward. Many raw converts have a “florescence” light setting that will nearly optimally adjust the color. Alternatively, you can go into the “levels” tool and tune down the blue and perhaps enhance the red. It is fun to look for new florescent subjects in California waters, but there are many more in tropics. Playing with blue filters will add a new dimension to your photography and reveal “hidden” color that few knew existed.