Anyone who has attempted “serious” underwater photography eventually finds themselves on a road that leads from the film in the camera, to the film on the light table, to the film in the trash can because of some flaw that appears more obvious than the teeth of a great white shark. It seems that the more pictures we take the more of a self-critic we become and the more often we make that journey — a journey that’s frustrating and expensive. One way to change a “tosser” to a “keeper” is to head down to the local photo lab and have them fix the imperfections — i.e., excessive backscatter (isn’t it all excessive?), poor cropping, or the dreaded “mystery stuff” that wasn’t in the picture when you clicked the shutter, but is there now. When the lab completes its process of masks, filters, and whatever other magic they weave, you have an expensive piece of film in your hand, the deserving admiration of your photographic public in your mind, and perhaps an enlargement to grace your walls. This is nice to do now and then but hardly cost effective! Even if you’ve made the perfect shot, the price to keep up with the demand for hard copies of your masterpiece might have you ransoming your first born child — or worse yet, your new lens.
Thanks to technology there is a far better way to solve this problem. Today, you can produce results that are significantly superior to most custom labs and far, far cheaper. If you have a personal computer, you can enjoy the benefits of millennium photography for about $400. For that paltry sum you get a photo quality color printer and (just as important) a copy of Adobe PhotoShop®. Let me state right up front that digital enhancement will not fix bad pictures. It can’t focus that which is not in focus. It can’t bring back detail to a hopelessly burned out image. It can’t add color and richness to a scene five stops underexposed but then neither can the lab. What I’m saying is that if a couple of little patches could fix an otherwise perfect image, then this is the way to go.
Here’s how the process works: Shoot the image then scan it with a slide/negative scanner (or have a lab do it and copy it to CD) so that it can be loaded into your computer. Work YOUR magic with Adobe PhotoShop®, then save your corrected image. Now you can print it, have it copied to film, send it via e-mail to Mom, or enjoy it the way it is — cheap, fast, and you re in control.
What do you need to get digitizing? Depends on what your desired results are. As an example, I wanted to be able to produce photo lab quality 8 X 10 prints with as little investment in time and money as possible. After a little research and some demos at the local photo shop, I settled on an Epson 1270 printer. It came with Adobe PhotoShop®LE, and after navigating the learning curve, life was wonderful. My slides were scanned at the local photo lab for $1.25 to $2.00 each depending on the resolution (number of pixels) I needed and returned to me on CD. Next I copied them to my hard drive, massaged the flaws away with PhotoShop® and—voila’!—the perfect image from which to print. As for the final print, this $400 printer/software produces a better product than any I have seen from a lab, and the cost was only about a buck a print! So based on a lab cost of $10 per 8X10, I only have to produce 40 prints to “break-even.”
The rest is gravy.
Now for the down side: the prints look so good it’s hard to resist the temptation to make really big ones. As the image size grows, so does the need for a high power computer with significant disk storage space, lots of RAM, and a fast processor—not to mention your own scanner.
Let me say something here about image scanning. The cost of getting an image scanned can run from a dollar or so to upwards of $100 for a very high resolution drum scan. You need to first determine what the end result of your photographic effort will be. This will determine the type of scan you need. For most applications, i.e., web pages, moderate enlargements (8 X 10), publication and inexpensive scan will work fine. As you lean toward larger prints you will need more detail in the scan to hold the resolution in the print. With today’s high-resolution desk-top scanners, it is easy to produce 16 X 20 prints from a 35mm slide which will appear far superior to any type “R” from a professional lab. If you have a photo lab do the scan, the cost should be about $15 to $25 each at this level, but the results are amazing!
As you can see, the more you delve into the digital darkroom the more options you have and the bigger the price tag. If you can settle for a photo quality color printer (be sure it’s PHOTO quality with PhotoShop”!) attached to your PC and have the scans done by a lab, you can get by for a few hundred dollars. If you decide to expand your horizons, here’s some data for you to mull over. How about a PC configured with 1.2 Ghz processor, 512M RAM, 12X CD burner to save those big high resolution files, flat screen monitor for maximum resolution and minimum eye strain with editing the files—all for around $2000, slide scanner (4000 dpi) between $1000-$2000, and of course the $400 color printer. Gets a little pricey and there are certainly more options available, but equipped like this you could become your own stock photo/professional lab/custom printer all in one. The limitations? Only your imagination, photo library, and your wallet.
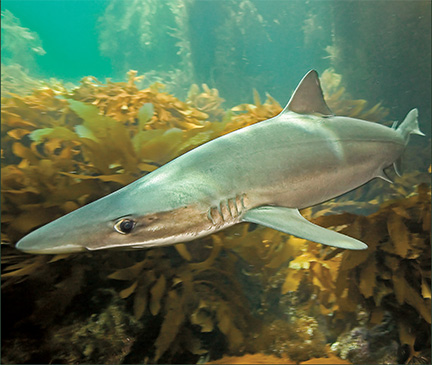
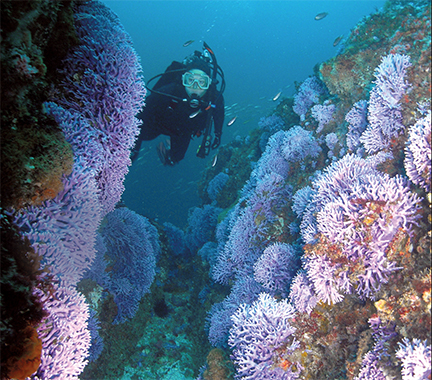
The images accompanying this article were taken more than 25 years ago and somehow escaped the trash can. They have been resurrected and repaired with PhotoShop®! and submitted electronically. And, hey, it looks like they finally got published!