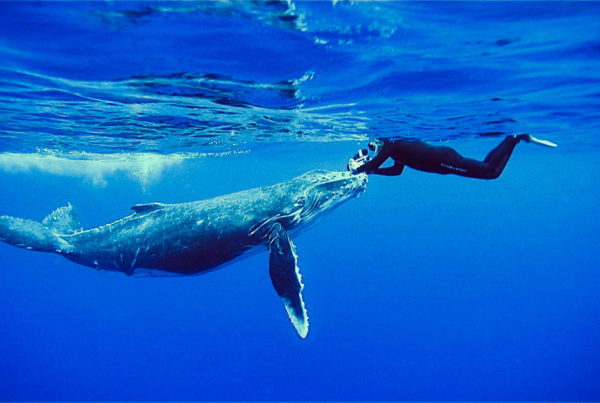
I have always felt that some of the most effective underwater photos are those with models—other divers in the shot. These shots allow the viewer of the photo to vicariously place themselves in the underwater scene. The emotional connection with the image’s beholder is greater.
The vast majority of underwater photos involving models are wide-angle shots. But a more challenging, and equally effective method is macro photography with another diver in the shot. To achieve effective results in this department requires a very cooperative model, the correct management of the subject, superior composition, and superb exposure with proper manipulation of the strobes.
COOPERATIVE MODEL
When doing wide-angle photography, you can shoot away with divers floating around in the blue and maybe come up with a good shot. Cooperation of a model willing to take direction is much better. In doing macro with a model, it is absolutely essential. Not only do they need to pose, they need to understand how to breathe, interact with the subject, move their eyes and more.
In most of your shots you will want your subject in focus and your model more as a background, usually blurred. Even so, the appearance of the face is important. It is important that the face stays dry. If possible, the model should wear a mask that fits very well with absolutely no leakage. Have the model dry their face before putting on their mask. Female models should wear makeup, especially in California waters where wetsuit hoods take away the framing of hair.
Rhythmic breathing is essential. Both the model and photographer need to settle down and relax. A face full of bubbles will do nothing to enhance the shot. If the model breathes rhythmically, you can time your shot on an inhalation when bubbles are at a minimum. Also, the model should concentrate to not blink during inhalation as this is when the shot should be timed. There is nothing more frustrating than a photo ruined because the model is in the middle of a blink. Blinking should take place as the exhalation bubbles rise.
Position of the model’s eyes is often overlooked. If both eyes are in the frame with the subject and the subject is close to the diver’s face, which it usually has to be, and the diver looks directly at the subject, the model will appear cross-eyed. To avert this abnormal look, have the model focus beyond the subject.
SUBJECT
Static subjects are obviously best—a good place for beginners to start. The model diver can hold up sea stars. Nudibranches are ideal. Have the nudibranch crawl on to a “stage” such as a small rock, shell or blade of kelp. Do not handle the nudibranch—you won’t need to, but you will need patience. With the nudibranch on its mini-stage, your model can twist and turn the stage to the desired position. You can use similar technique for snails and sea hares. For maximum effect, try to get a light colored blue water background behind the diver.
Small reef fish and other less static subjects are quite challenging. Sometimes you can find a small fish in a shell that can be picked up and held in front of the diver’s face. Octopus and hermit crabs can also be photographed in the same way with the diver model in the background. Remember, do not handle the animal but only the shell.
Other reef fish such as scorpionfish and rockfish will hold still long enough for the model and photographer to move into position. Move in slowly and low with rhythmic breathing.
CAMERAS AND ACCESSORIES
This is one macro department where a camera with an extension tube or macro lens and framer might have an advantage over one without. With the framer, the model has a better idea as to the position of the subject and their face with regards to what the camera will be actually photographing. While the framer can still scare off skittish marine life, odds are that will happen any way as the model diver moves in close to be in the shot. Stick with more static and less skittish subjects.
LIGHTING
Balanced lighting is critical. While adequate results can be pulled off with a single strobe, dual strobes are required for the best shots. Train one strobe on your main subject and the other to fill in the face of the diver model. Aim this strobe higher and down. With a dual strobe you will be less likely to cast odd shadows on the model’s face. Use a diffuser on the strobe to soften the light. To avoid the mirror-like effect off the dive mask, tell the model to make sure they can see the strobe and the lens while the photo is being taken.
Balance your light so that the strobe trained on the subject is set to properly expose the subject and the strobe aimed on the model will expose the model’s face well.
Macro photography with models is no doubt a challenge. The results, however, will be stunning and different. Much of your efforts will be trial and error. Shoot a lot, experiment, and remember what works and what doesn’t. Your efforts will pay off.


