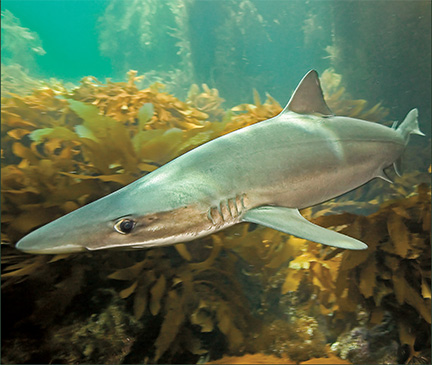
Macro photography is generally considered to be a bit more approachable than wide-angle photography by underwater photographers. The lenses and strobes are smaller and less expensive compared to what is needed for wide-angle photography, and macro subjects are easier to find and compose. Importantly, most macro subjects cannot swim away and allow divers plenty of time to practice to get the image they want. With a modest investment most photographers can acquire great images from their very first dive.
The first thing to remember in underwater photography is the photographer’s mantra: “Get close, get down, shoot up.” The first is easy to understand–getting close eliminates as much of the backscatter-causing particles as possible, and allows you to fill the frame with your subject. Generally the subject should take up 70 to 80 percent of the frame–don’t make your viewers perform a scavenger hunt for your subject.
Getting down and shooting up serves a very useful function. This allows you to achieve separation between your subject and background. Your subject will “pop” out of your image, giving it a three-dimensional look (depth), even with relatively even (or flat) lighting. I prefer to use two small strobes to evenly light a macro image, and prefer relatively flat lighting. Depth is achieved by judicious juxtaposition of subject and background. You can sometimes achieve depth by uneven lighting of your subject by adjusting the relative power of your two strobes, but normally I reserve creative side or mood lighting for my wide-angle shots.
After you have identified your subject and estimated how close you can get, you will need to adjust your strobes. Remember the idea is to light your subject without lighting the water between your lens and subject. If you are shooting very close, you may have no choice than to position your strobes right next to your lens. As you move away from a subject you will need to position your strobes further from your camera, and tilt them away from your subject such that the inside edge of the strobe light just catches the far end of your subject.
After you shoot your first shot, evaluate the histogram of the tonal content of your image to make sure it is evenly lit and properly exposed. The pixels should be more-or-less evenly distributed throughout the histogram and not bunched up on either end. If your pixels are mostly at one end, you will need to compensate your exposure accordingly. I have been using a Nikon D300 with a Sea & Sea housing and can easily flip between a view of the stored images and their histograms.
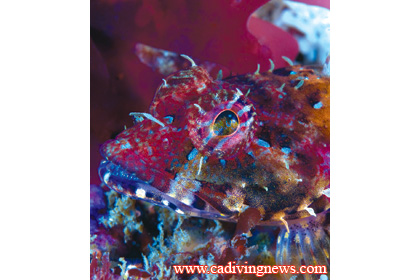
After you have your strobe position and exposure down it is time to really begin to think about composition. If you want to photograph nudibranchs try scouting the area not just for nudibranchs, but nudibranchs that are on pleasant backgrounds. Look for subjects that are on edges of the reef that allow you to get below them and shoot up. Look for subjects that are backgrounds that complement the subject. An orange nudibranch on an orange background may be intensely colored, but you may not be able to tell where the sponge ends and the nudibranch begins. Try, for instance, on finding an orange nudibranch on a green background. Once you have identified the “right” subject on the “right” background take some time to experiment with camera and strobe position, composition and relative strobe power. Don’t just try to duplicate images in magazines or books. Let your creativity come out.
So remember the mantra: “Get down, get close and shoot up”. With a little patience in setting up your shot and searching for a pleasant combination of subject and background, you should begin getting quality images from your first dive.