There’s a well-known saying, “Photographers are artists who paint with light.” Effective lighting techniques for photographing people work the same in underwater nature photography. Highlights and shadows show the contours, character and textures of an animal. Sharply angled lighting can create a tactile effect — make it so you can almost feel the animal’s skin. I’m a big fan of showing a wide dynamic range in photographs — dark-black to bright-white, and every shade in between. It’s not always possible, but if you can surround a creature with your strobes, you can create a near 3-D effect.
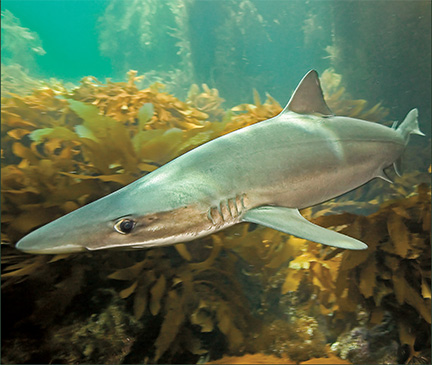
Getting close is the only way to go with underwater photography — less water between your lens and subject means less silt in your frame. To show detail, I want my subject to pretty much fill the frame and stand out against the background. How an animal is situated when you find it goes a long way in determining what you can do with lighting and composition. If the animal is out in the open where you can position your strobes nicely, you’ve got it made. In these examples from our last trip, both critters were well in the open making a “wrap-around” set up possible. One more tip: It’s widely held the main difference between pros and amateurs is in how many images they shoot. Taking LOTS of images is the way to come home with keepers.
I typically shoot with a housed 5 mega-pixel digital camera, manually controlled, with two strobes on 20-inch arms. I use diffusers for macro because they create a softer, more gradual light fall-off. I mostly use the beam-edges to illuminate the subject. These two images from our Labor Day charter illustrate my favorite dual-strobe macro set up. I use it, or a variation of it, for most of my close-up work. It’s well suited to silt and makes a good general set up for low-vis dives.
These Dorid and Rockfish photos use the exact same lens-to-subject and strobe-to-subject positioning. To easily see the set up in your mind’s eye, think of a large flat side up triangle placed around the image. The strobes are at the two points on top, the lens at the bottom point, and the subject is in the middle. They are positioned above but strongly to the side, and slightly behind the subject – pointing back. Both strobes are lighting the subject with the outer edge of their beams. This is an ideal “no-backscatter” set up.
The edge of the left strobe is about 14 inches from the subject. It provides a rim-light for the animal’s head, but most of its light is falling off the subject to the left. The right strobe, 16 inches away and at a right angle to the subject, provides most of the light for the exposure. It fills the shadow created by the left strobe with directional light showing the texture and shape of the animal.
If you have a two-strobe rig, I suggest trying variations on this theme with your macro work. Either strobe can be the primary – the trick is careful use of pointing and distance. When you find a nice subject in the open, experiment! Lots of great effects are possible when you have the luxury of dual strobes.