I learned underwater photography in a very strange way: on the job training. My very first underwater photo was taken as a paid professional. At the time I was working as a commercial diver. My company was getting a lot of inspection work but had only one photographer. They needed another and the most important qualification was to be able to process film offshore. That I taught myself in one afternoon. The underwater photography I fibbed a little, read books, and decided I could teach myself in the water on my first dive. And these were the days before auto-exposure underwater cameras!
One thing I did do in those early days is keep meticulous notes. I noted aperture, shutter speed, strobe power, and camera to subject distance on every shot. And then because I was on company time, and on the company’s film, I bracketed heavily. I processed the film on the spot, and was able to examine the results almost immediately. By my third roll, I was a pro, well, almost.
NOTE TAKING DURING THE SHOOT
Any beginner, or anytime you make major equipment changes, it’s time to break out the notebook (or as in the case for underwater work, the slate). At a minimum, note aperture, shutter speed, strobe power, and camera to subject distance. Carefully record each shot taken so you can match the photo to the data. Jot down any additional factors you consider important such as strobe angle, water clarity, water temperature (yes, this can affect your photos, albeit only slightly), time of day, and atmospheric conditions (sunny, cloudy, etc.). Another important factor to note, often overlooked, is your surroundings. Are you in kelp, mid-water, on the sand? This often has a great impact on how ambient and artificial light behaves.
If you are a beginner, or using new gear, consistency is important. Try to take several (3-6) shots of the same subject with the same gear altering only one factor such as lens aperture (known as “bracketing”, 1/2 stop at a time up and down), strobe power or strobe angle. Again, do not alter any more than one factor at a time.
Of course, you can always do your practice and testing in a swimming pool, but I find this technique unrealistic. Light behaves in very unnatural ways in a swimming pool. Use a swimming pool only if you have no other option. You will learn more with one roll of film, with proper detailed notes, taken in the “real world” than a half a dozen rolls of film taken in a swimming pool.
CRITIQUING THE FILM WITH THE NOTES
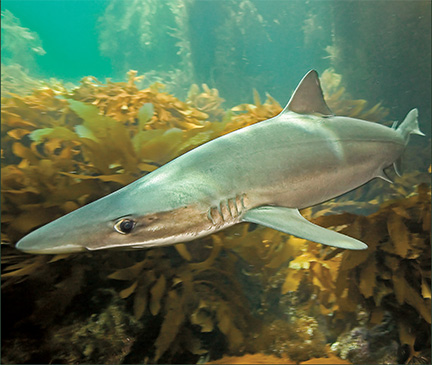
Here is where the rubber meets the road. Match and number you photos to your notes. Find continuity. Find several instances where a particular strobe setting works well with a specific distance and aperture. Lock on to and note that setting. With practice, you will narrow your working ranges for specific lenses to one or two settings but still always bracketing for unusual subjects. Sea lions, for example, are dark and require much more light than a highly reflective fish like a halfmoon.
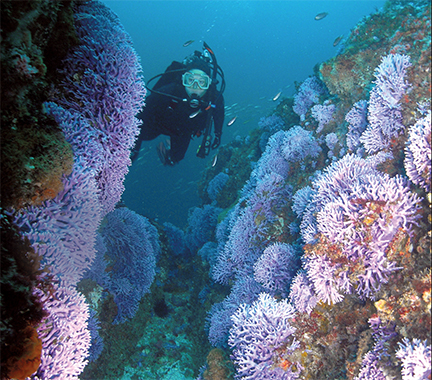
For example, I have settled into a comfortable f5.6 aperture on my Nikonos 15mm for shooting Kodachrome 200 in kelp forest. Kelp forests vary greatly in light intensity so I adjust accordingly, but I find that f5.6 works in about 50 percent of the cases. Its also a good setting to keep in place should something show up fast and I need to react quickly.
Other things that your notes will reveal will be how strobe angle affects backscatter or the mood of the subject. More subtle factors like color shifts and temperatures (warm, cold, blue, purple, etc.) will come with time and only after reviewing notes from many rolls of film considering factors such as film type, strobes used, and time of day each photo was shot.
A PLANNING NOTEBOOK
The best underwater photographers “plan” their shots. Ideas come from seeing other photographer’s work, polishing previous photos, or just out of thin air. I once knew a photographer that clipped underwater photos from dive magazines then added their own twists to the shot, or composed it the same but in a different setting (tropical to California, for example). What is important is that you keep a notebook of these ideas. Sometimes you can go right to the correct dive site to shoot a roll on just one specific idea. But most of the time you’ll have to bide your time until the right opportunity presents itself. It is at this point your ideas, recorded in your notebook, will jump back into your head. Then you can start shooting away.
In your planning notebook, be as detailed as possible. Include diagrams that cover camera to subject distance, camera and strobe angles, etc. Its fun, sort of like planning a vacation! Also include what lens you think you might need, film, and the like. If the shot involves your buddy, share the idea(s) with them so they too can be prepared to be in the right place at the right time.
You can also make contingency plans in your planning notebook. What if you can’t get quite the angle you want? What are some variations on the idea? Don’t be afraid to share your ideas with fellow photographers (of course, encouraging them to share with you).
Notes and notebooks are a valuable tool in improving your photographic results. Notes can be as elaborate or as simple as you desire but what is important is that they be accurate and followed up on.