I once met a photo buyer who was looking for underwater images with “no water in them.” What they really meant was they wanted clear images as if they were taken in air and not underwater. In-air visibility is measured in miles and clear images are easy to achieve. Underwater, this task is more difficult due to water suspended particles. The task for underwater photographers is to “get the water” out of their images.
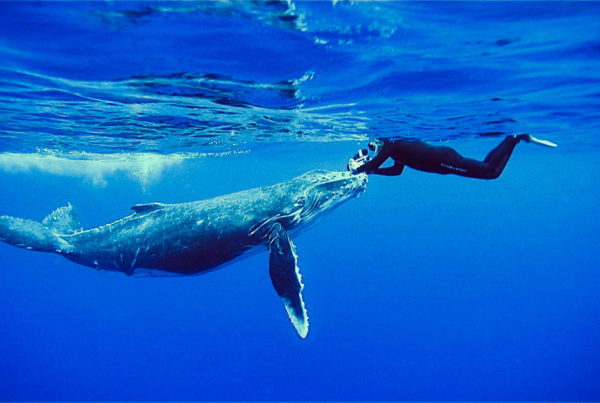
The most effective tip I can give you is to get close to your subject. Choose the widest, closest focusing lens that you can use for your intended subject. Select close, tight-in compositions. Getting close removes water, and image-clouding particles, between your subject and lens.
Since most underwater images, particularly macro images, use strobe light, where you place your strobe and how you orchestrate the lighting of your subject determines if the image goes into your portfolio or the round file. In addition to lighting your subject, your strobe also illuminates the particles between your camera and subject. Since these particles are closer to your strobe than the subject, they are considerably brighter than your subject. These bright spots are called backscatter. How you position your strobe determines the amount and brightness of the backscatter.
The amount of backscatter is reduced by throwing light on the subject while having minimal light pass between the subject and lens. As seen in the first cartoon, if your strobe is angled toward your lens, more of the water between subject and lens is lit, and there is more backscatter. In the second cartoon the strobe is angled away from the lens illuminating less of the water column, while still lighting the fish. The key is to know where the “inside edge” of the strobe light falls, and position the strobe such so that the inside edge just lights the far end of the subject.
Achieving this requires a bit of practice. Parallax issues mean that your subject and strobe are not located and are not aimed where your brain thinks they are. Your subject is actually about 25 percent farther away than your brain “sees” it. So if you aim your strobe as you see it, the strobe will light a whole lot more water than you would like it to. Try angling your strobe in several positions if you’re not sure exactly where your “inside edge” is. In some of your shots your subject will be half illuminated, others will have maximal backscatter, but just like Goldilocks, some will be “just right.”
The other consideration is where you position your strobe relative to your camera. If you place the strobe directly on your lens, the backscatter is illuminated like a full moon, brightly and even. If you position your strobe off to the side of your camera, the backscatter is still lit, but is more like a half or quarter moon, still lit, but less light is bouncing back to the lens.
Of course, that also means that your subject is harshly lit from the side, rather than evenly lit from the front. This may be a desirable effect, but often is not. Eliminate harsh shadows and minimize backscatter by using two strobes and putting your inside edges as far from the lens as practical. Using two strobes also gives you a greater margin of error in strobe positioning.
With practice and careful note taking, you will soon learn exactly where your “inside edge” is. Take careful notes on each roll, review your notes when you get your photos back, and write down optimal strobe positioning. Practice in a pool helps.


